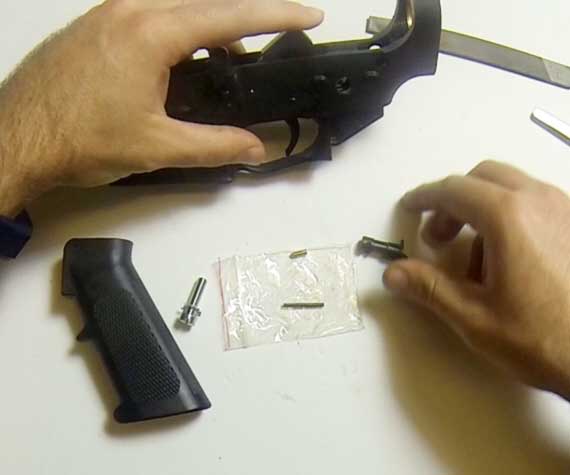
For this next portion of the Lower Parts Kit Install, I will show you how to install the safety selector and pistol grip. You will need a driver that matches your pistol grip screw. this can vary from a flat head screwdriver to an allen key. One thing to be aware of for this part of the build is that there may be some differences in how the pistol grip is attached. I am using a 3/4″ flat head screw, necessary for the Hybrid 80 lower. It is also used in the Tennessee Arms Lower, and can be used for most aluminum lowers. Some LPK’s come with a 1″ screw. So, keep in mind, if your pistol grip screw bottoms out before getting tight, you will need to get shorter screw.
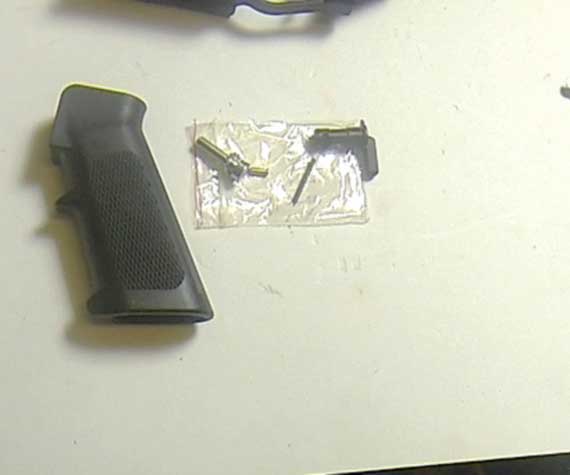 |
| Step 1 |
| Gather the safety selector, safety detent and spring, pistol grip, pistol grip screw and lock washer. |
|
 |
| Step 2 |
| Take the safety selector. orient the lower receiver so that the buffer tower is on your right and pointing away from you. In this case, the pistol grip will be the bottom and the buffer tower the top. |
|
 |
| Step 3 |
| Cock the hammer. Insert the safety selector into the lower. |
|
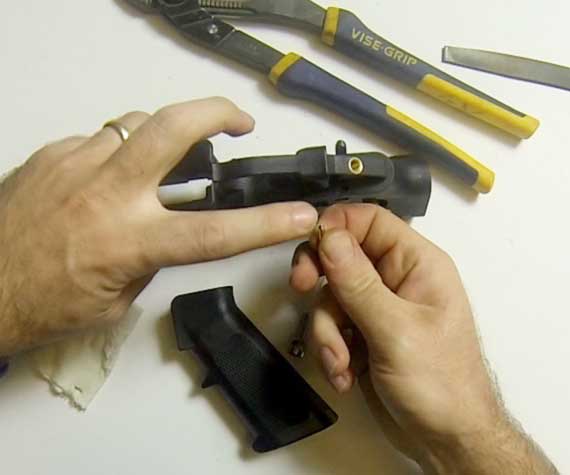 |
| Step 4 |
| Now, insert the safety detent into the detent well. be sure that the side with the point goes into the well first. This will leave the flat side towards the pistol grip. |
|
 |
| Step 5 |
| Insert the safety detent spring into the detent spring well in the pistol grip. |
|
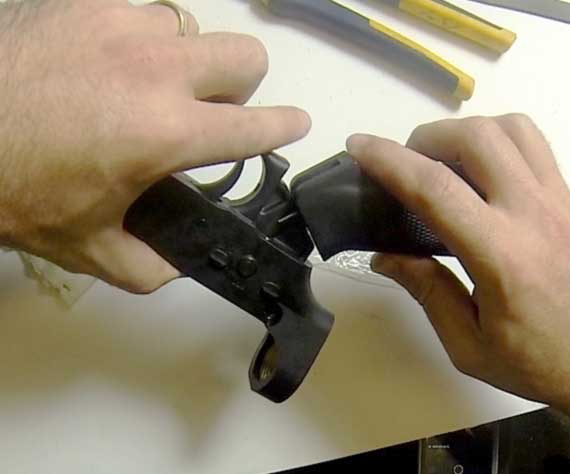 |
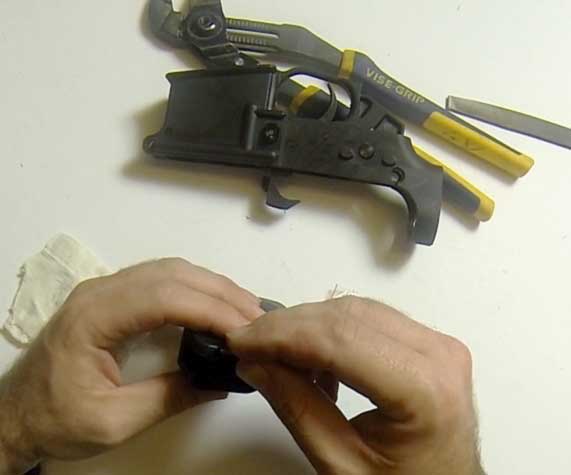
| Step 6 |
| Carefully insert the lower into the pistol grip. be sure to line the spring up with the detent. You will want to hold the lower flat, so the detent does not fall out. |
|
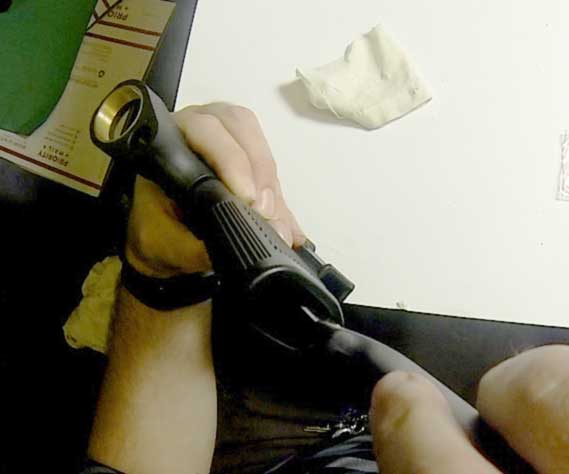 |
| Step 7 |
| Drop in the the pistol grip screw and tighten it fully. |
|
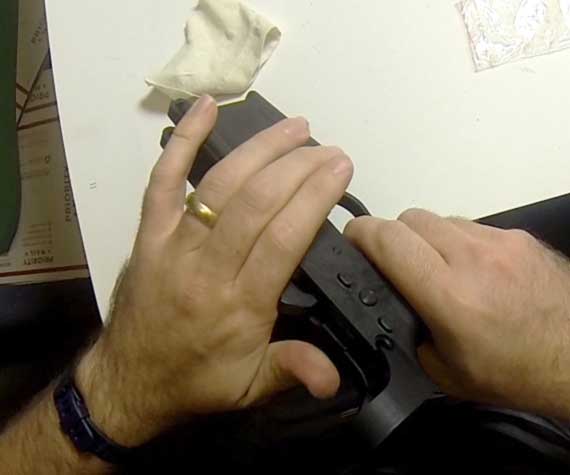 |
| Step 8 |
| Function check your safety. Make sure the trigger will not function with the safety engaged and will function with the safety disengaged. |
|
