This is the final piece of installing the LPK. after you have completed this, you will have a complete lower half. While there are a lot of steps, in this part they are relatively simple. you will need a complete butt stock kit as well as your LPK. For this example, I will be using a generic 6 position adjustable butt stock kit that comes with the Guns80.com rifle kit.
 |
| Step 1 |
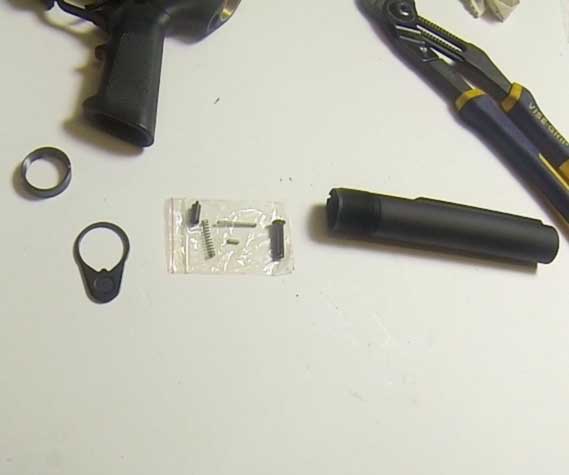
| You will need the following parts: Pictured: (left to right) Castle nut, end plate, buffer stop, buffer stop spring, takedown detent spring, takedown detent, takedown pin, 6 position lower receiver extension (buffer tube). Not Pictured: 6 position butt stock, buffer, buffer spring. |
|
 |
| Step 2 |
| Insert the buffer stop spring into the buffer stop. |
|
 |
| Step 3 |
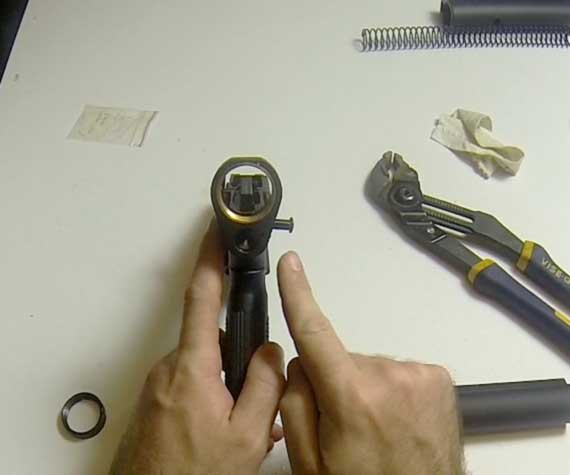
| With the rear of the lower facing you, insert the takedown pin into the lower from the right side. Orient the detent groove in the pin towards the rear of the lower. |
|
 |
| Step 4 |
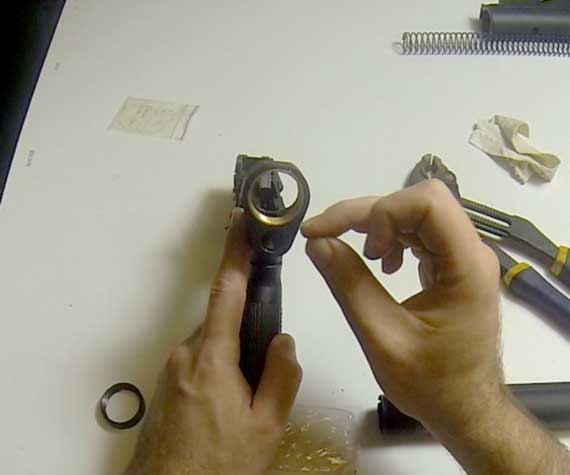
| Drop the detent in to the detent well. |
|
 |
| Step 5 |
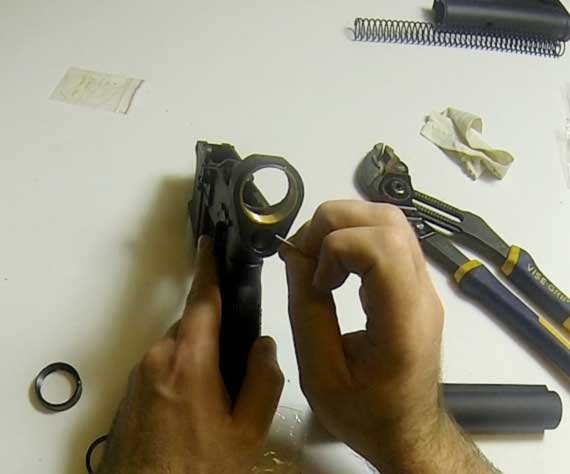
| Drop the detent spring into the detent well. |
|
 |
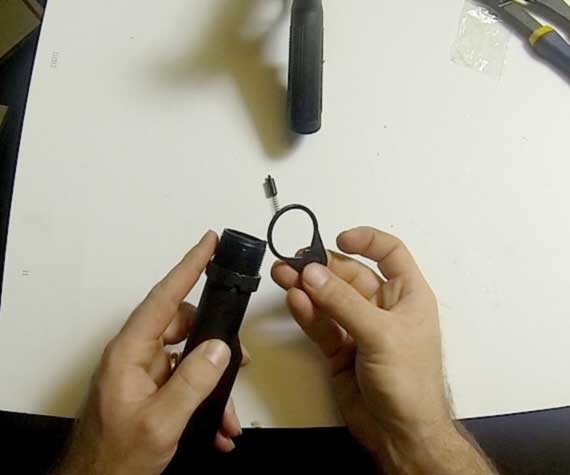
| Step 6 |
| Screw the castle nut onto the receiver extension. The wrench points go towards the rear of the receiver extension. |
|
 |
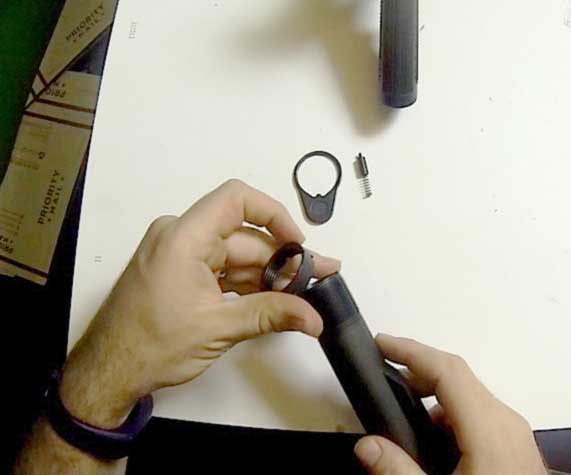
| Step 7 |
| Slide the endplate onto the receiver extension. The key in the endplate slides along the groove in the receiver extension. The recessed wide of the endplate faces the rear of the extension. It will eventually set into the lower receiver. |
|
 |
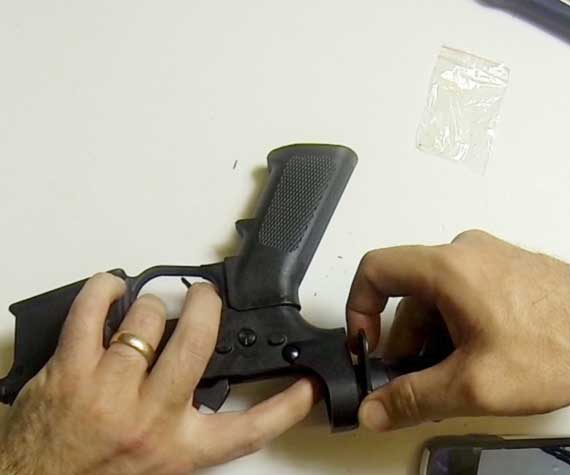
| Step 8 |
| With the detent spring depressed and the castle nut and endplate all the way to the back of the receiver extension, screw the receiver extension into the lower. Be careful not to catch the detent spring on the end plate. At this point, do not screw the receiver extension all the way. |
|
 |
| Step 9 |
| Insert the buffer stop and spring into the buffer stop well. |
|
 |
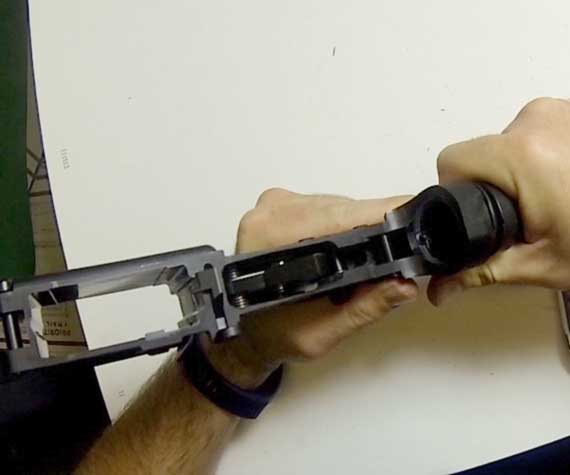
| Step 10 |
| With the buffer stop depressed and keeping an eye on the detent spring, screw the receiver extension in until the buffer stop locks into place in the extension. |
|
 |
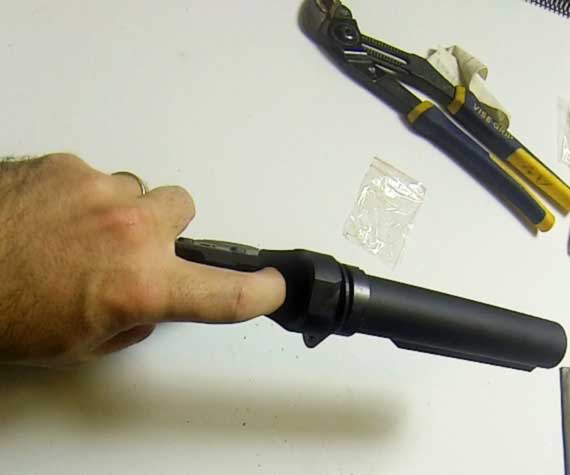
| Step 11 |
| Locked into place, the receiver extension should be properly oriented. |
|
 |
| Step 12 |
| Hand tighten the castle nut. This will also depress the detent spring. |
|
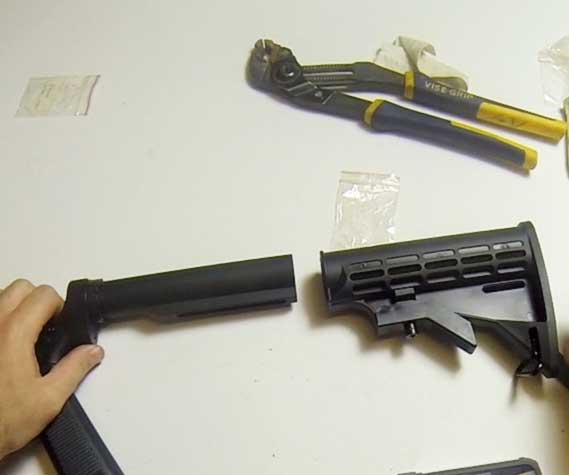 |
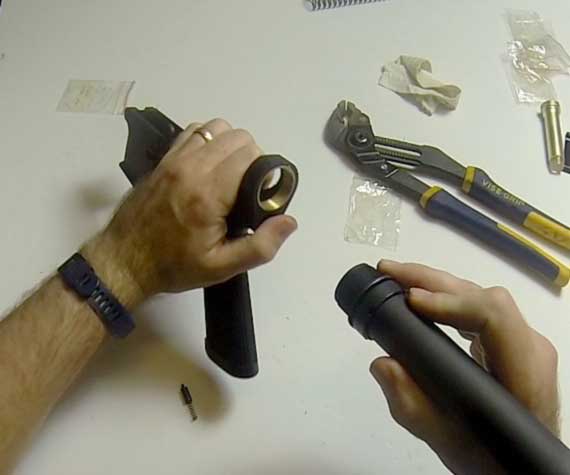
| Step 13 |
| Grab your 6 position butt stock. |
|
 |
| Step 14 |
| This model requires a tool to pull the position stop out far enough to install the butt stock on the receiver extension. I am using a flat file because that is what I had on the bench at the time. Slide the butt stock onto the receiver extension. |
|
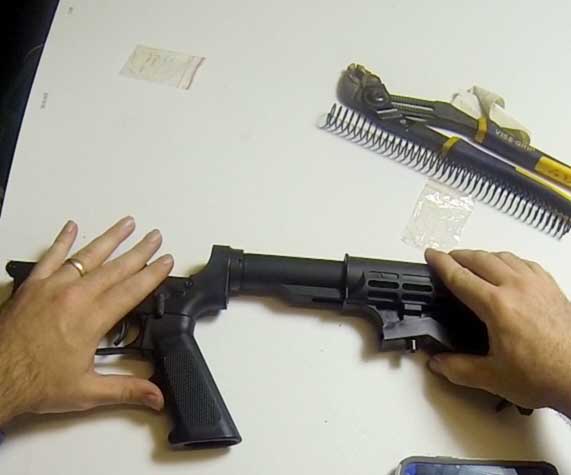 |
| Step 15 |
| Once you have tightened the castle nut, make sure everything is flat and aligned. |
|
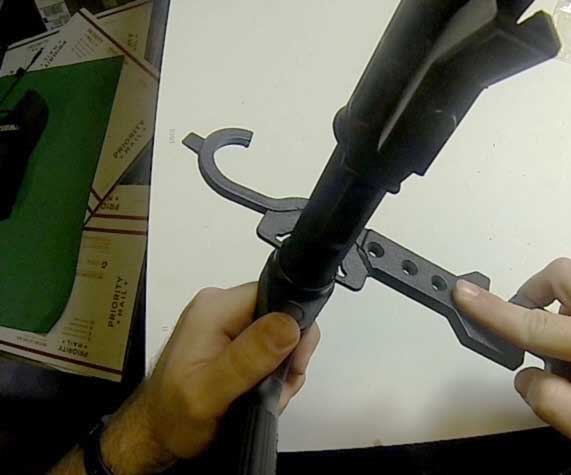 |
| Step 16 |
| Using a castle nut wrench, fully tighten the castle nut. I am using a multi-purpose armorers wrench I got from Guns80.com |
|
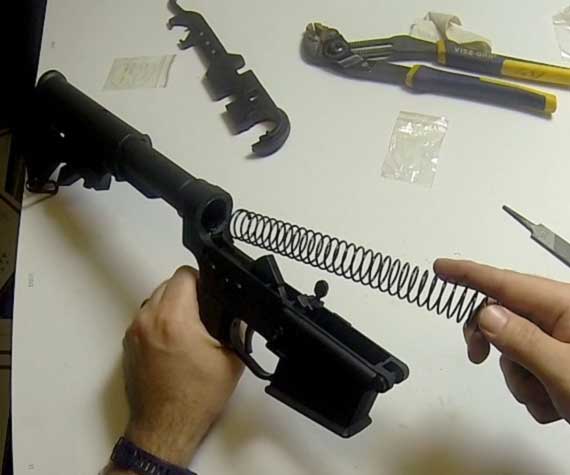 |
| Step 17 |
| Insert the buffer spring into the receiver extension. |
|
 |
| Step 18 |
| Insert the buffer into the spring. |
|
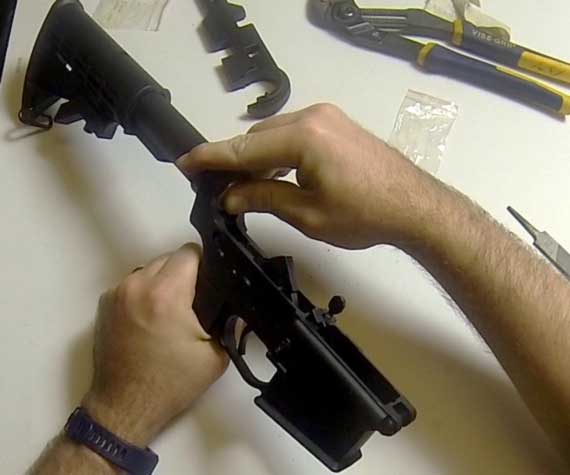 |
| Step 19 |
| Depress the buffer and spring into the receiver extension until the buffer locks onto the buffer stop. |
|
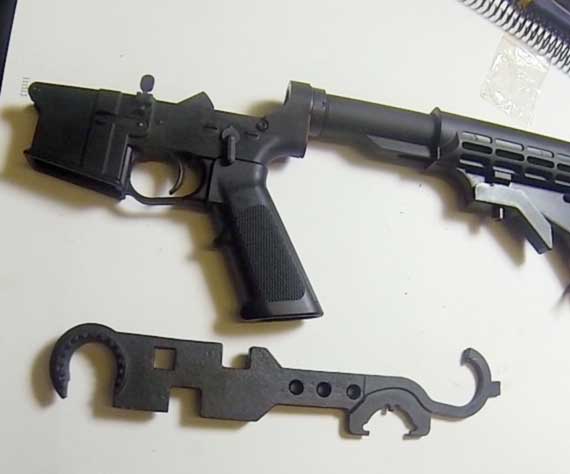 |
| Step 20 |
| That’s it! Everything is complete. You now have a completed lower half. |
|
