
For this part, we will examine all of the tools you need (and may want) to assemble a lower receiver. Again, we will stick with the following guide: Absolutely Necessary (AN), Nice to Have (NH), and Irrelevant(I). Also, I will discuss some improvised options using common tools you may already have.
TL;DR:
- Something to install roll pins
- Slip Joint Pliers (AN)
- Painter’s Tape (AN)
- Gunsmithing Hammer (NH)
- Punch set, including Starting Punches (NH)
- Something to compress springs
- Flat Blade Knife (AN)
- Zipper Bag (AN+++)
- Pivot Pin Tool (NH)
- Screws And Nuts
- A Screwdriver (AN)
- Castle nut wrench (NH)
- Armorer’s Wrench (NH)
For this operation, you will need several things. First, you need something to install the roll pins. Then, you will need to compress several springs. Finally, you will need to tighten one screw and one nut. Sound like a lot of tools? Well, believe it or not, you can install all of this with a multi-tool, a flat blade knife and a hammer. This will probably end up with a lot of marring on your lower, but it can be done.
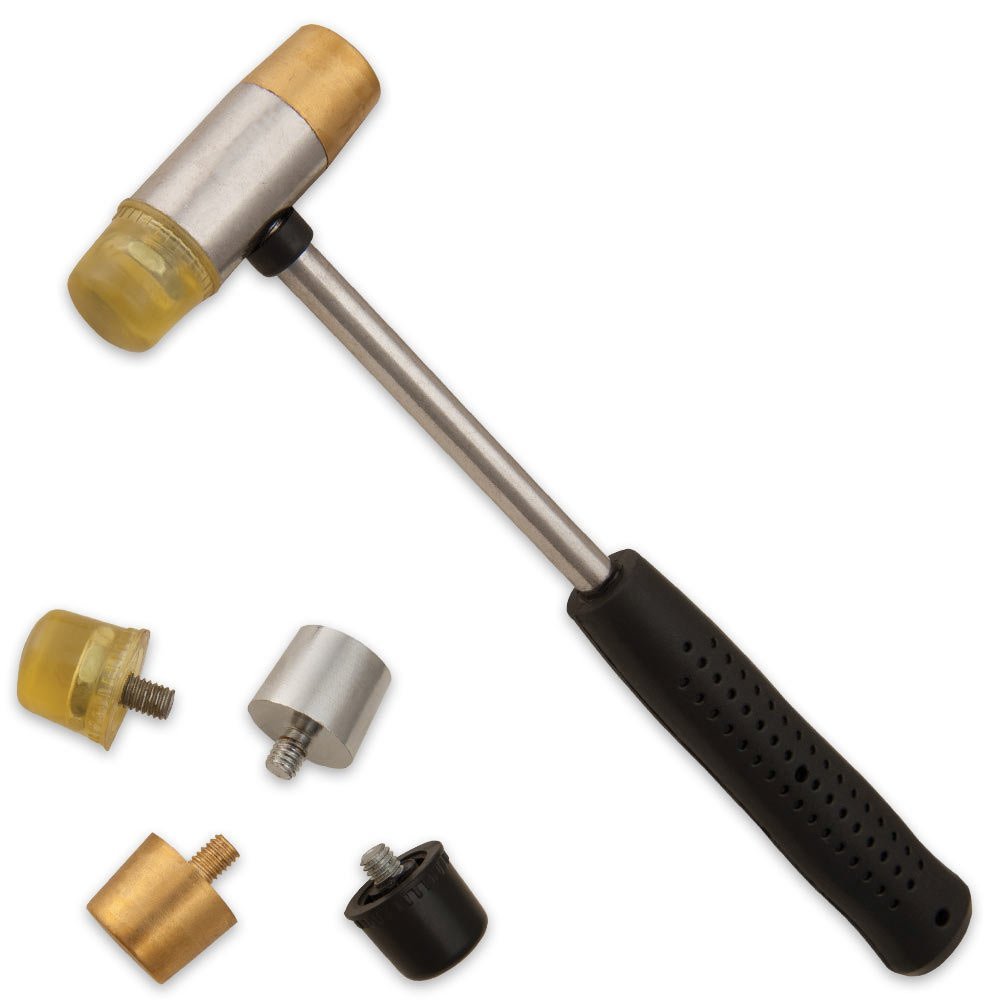
Installing roll pins – There are several spring roll pins on the AR-15, but only one in the lower receiver, the Bolt Catch Roll Pin. You have two options on how to install it. You can either use a hammer and punch, or you can use a pair of pliers. If you are planning on using a hammer and punch, you will need a non-marring hammer something like this:
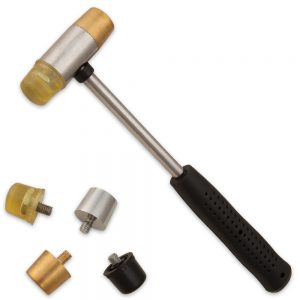
will get you through at a great price. Also, you will want a full set of punches, including starter punches. This set has the starter punches, and this one has all the rest of the punches you will need. This will get you going for about $35. If you are going the pliers route, then a good pair of slip joint pliers or Irwin’s adjustable pliers
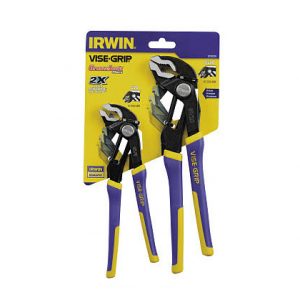
, my personal favorite, are about all you need. You will need to use some painter’s tape on the jaws to keep from scratching the lower, or you can opt for some of these.
Compressing Springs – This task can be super easy or entirely frustrating. The first thing you will want is a closed environment. A $2 box of gallon zipper bags will save you a ton of time chasing parts around on the floor. Add a magnet and a carpet-free floor and you will easily be able to find all of the tiny parts you drop. For the most part, the springs can be held in with your fingers or a thin blade, like a box cutter or a cheap knife. However, the pivot pin detent and spring can be a real nightmare to hold in. For this, you can either get a pivot pin tool like this:
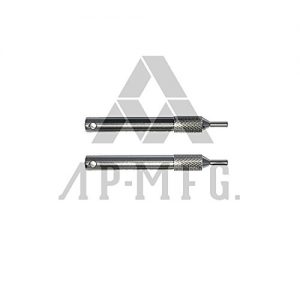
Or you can go down to the hardware store and get a clevis pin, ¼”x2”. You can pick them up for about $2. Make sure you get on with holes in it, like this: http://www.homedepot.com/p/1-4-in-x-2-in-Zinc-Plated-Universal-Clevis-Pin-815418/204276164
The Screw and the Nut – Ok, not the best title, but it is accurate. The screw in question is the pistol grip screw. What you need for this will depend on your kit. It could be Philips, flat or Allen. It all depends on your kit. Depending on your lower and the LPK you get, you may need to swap out the 1” length screw for a ¾”. The screw is a ¼”-24, for almost all mil-spec lowers, though Polymer 80 uses a lot of deviations from mil spec to make their lower. The nut in question is the castle nut. Please note, if you opt for an A2 stock, you will not have a castle nut. The castle nut can be installed using a punch pin and a hammer, if you are careful, but I would recommend a castle nut wrench, or an armorer’s wrench like this one:
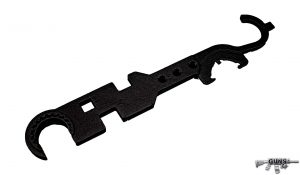
That should do you for all of the tools you need to install the lower parts kit. Next week, we will go into tools for assembling an upper, and some miscellaneous tools and tips.