
Welcome back, Builders! Today we will examine the installation of the fire control group. For the purpose of this instructional, the Fire Control Group includes the trigger group and hammer group. You will assemble the following parts from your LPK on your work surface: Trigger, Hammer, Trigger Spring, Hammer Spring, Trigger/Hammer pins (2x), Disconnector and Disconnector spring. I like to organize mine in sections, Hammer group, trigger group, and disconnector.
This is where things start to get a bit complicated. pay close attention to the orientation of the springs when you are installing these parts. Many issues with your first build can come from incorrectly installed springs. I will try to point out the possible issues you may run into if the springs aren’t installed properly.
 We will start with installing our springs on the trigger. Select the trigger and trigger spring.
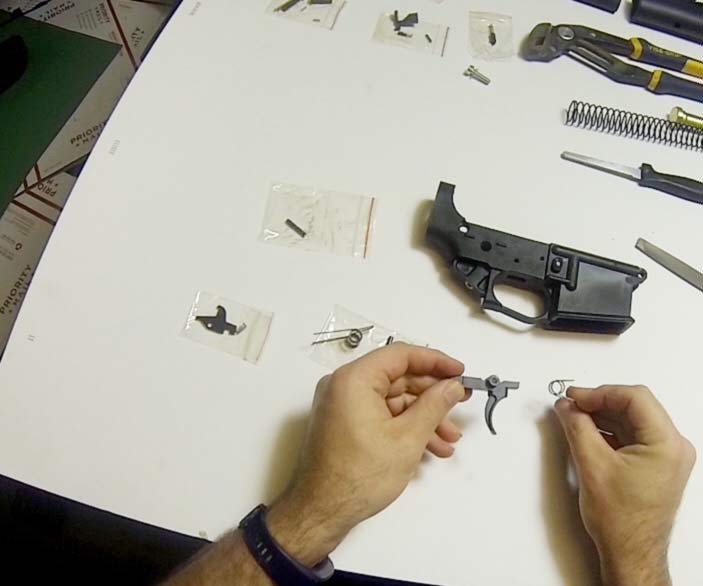
Align your trigger and trigger spring as shown.
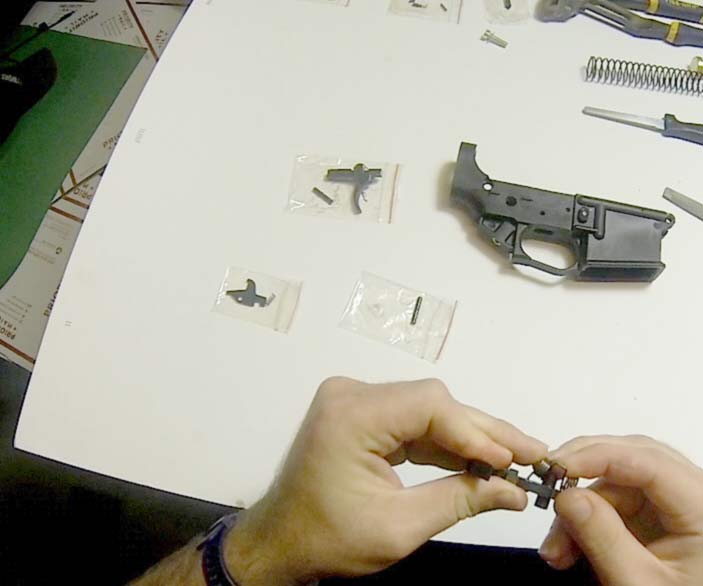
Snap the trigger spring over the trigger, onto the posts. Make sure the center piece and legs of the spring are both on the bottom of the trigger.
Check your orientation. If you put the trigger spring on upside-down, you will likely get double fires or run-offs. a double fire is when the weapon reloads a round, resets the hammer and then fires a second round before resetting the trigger. Run-offs are when the trigger will not reset and the weapon continues to fire.

Next, we will install the hammer spring. Select the hammer and hammer spring. 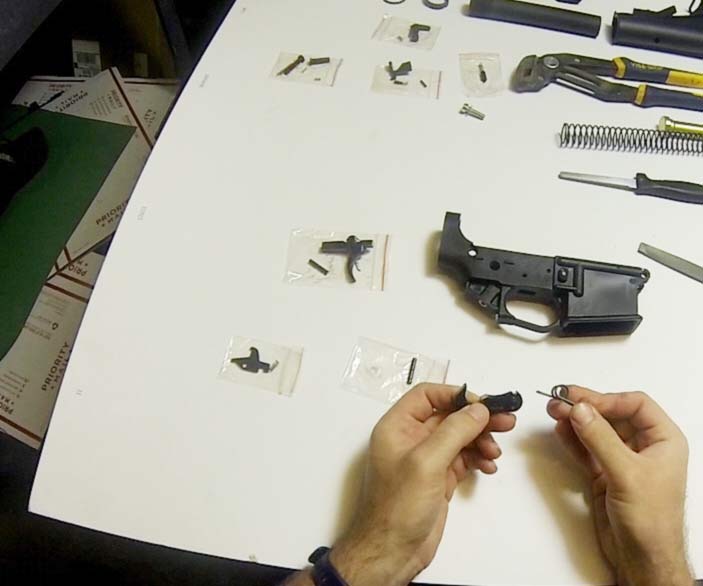
Orient the hammer and hammer spring as shown.
Snap the hammer spring over the hammer.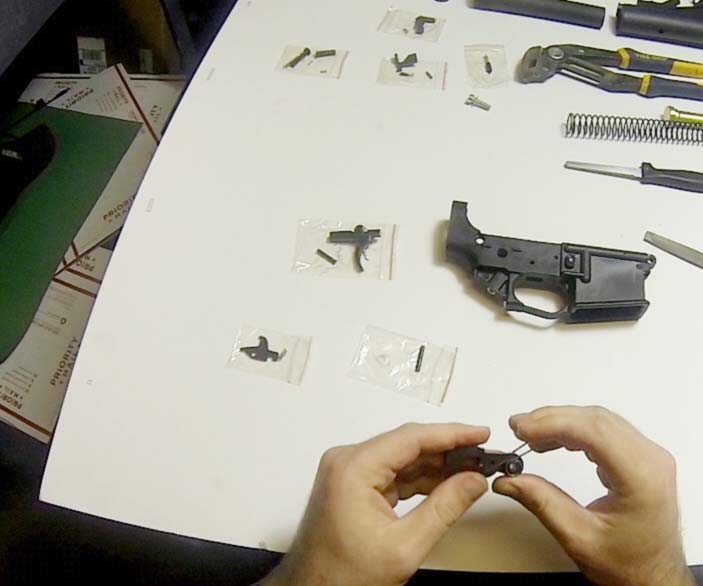 Check your orientation. The flat part of the spring should catch the back of the hammer. The legs should be closest to the hammer face, when the spring is like this. If you put the hammer spring on upside down, you will experience light strikes on your rounds. you will see slight dimpling on the primer, but the round won’t go off.
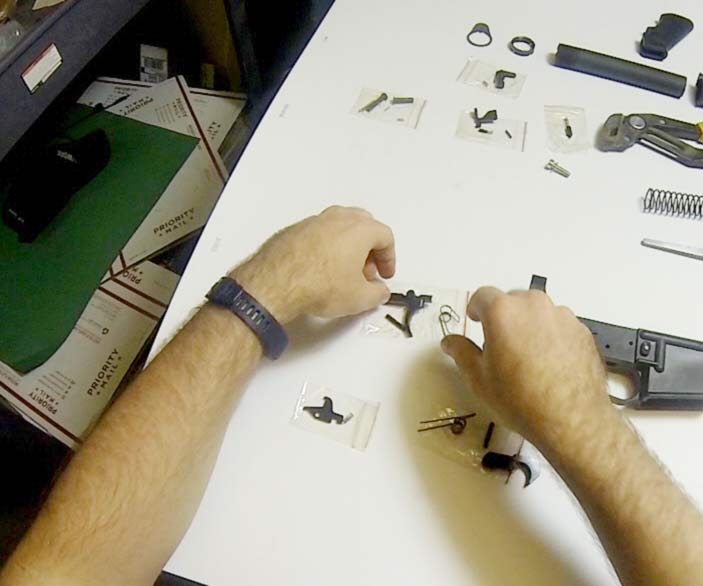
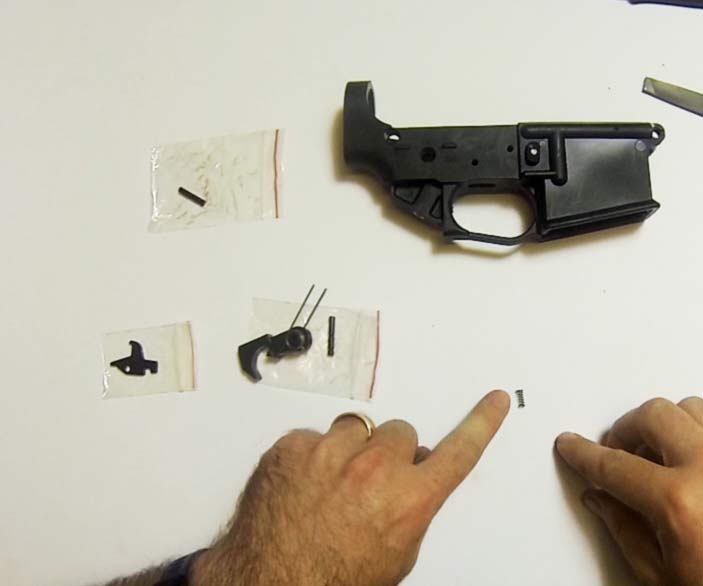 Next, we will install the disconnector and spring. Please note that the disconnector spring has two ends. One end has a larger diameter. We will call this the “fat” end.
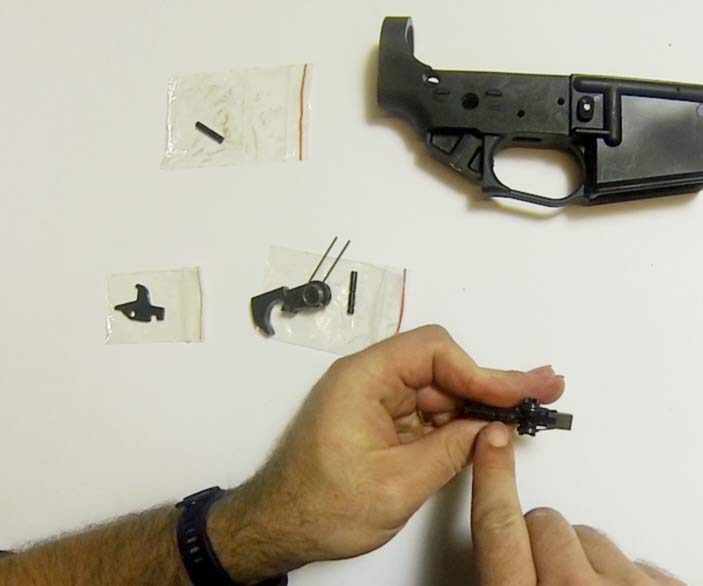
The trigger has a recess cut for the disconnector spring. 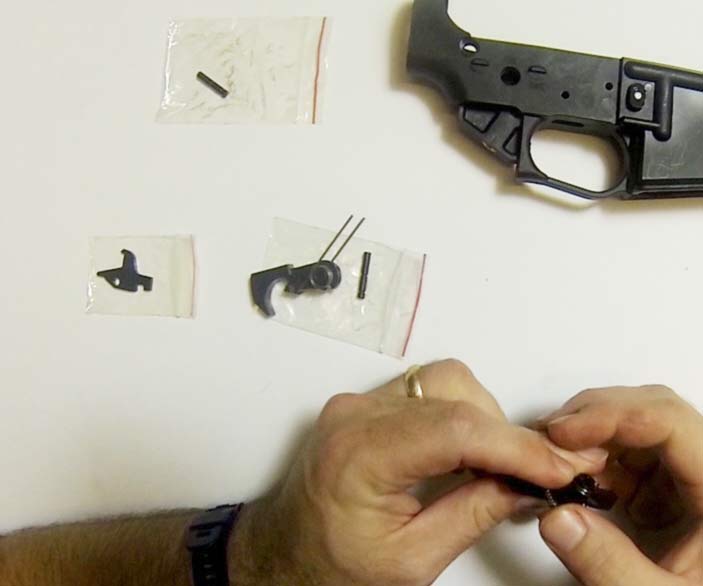 Insert the disconnector spring into the recess in the trigger, with the fat end of the spring in the recess. compress the spring so it sticks in the trigger. If you put the disconnector spring in upside down your hammer will likely not reset, and you will have to charge the weapon every round.
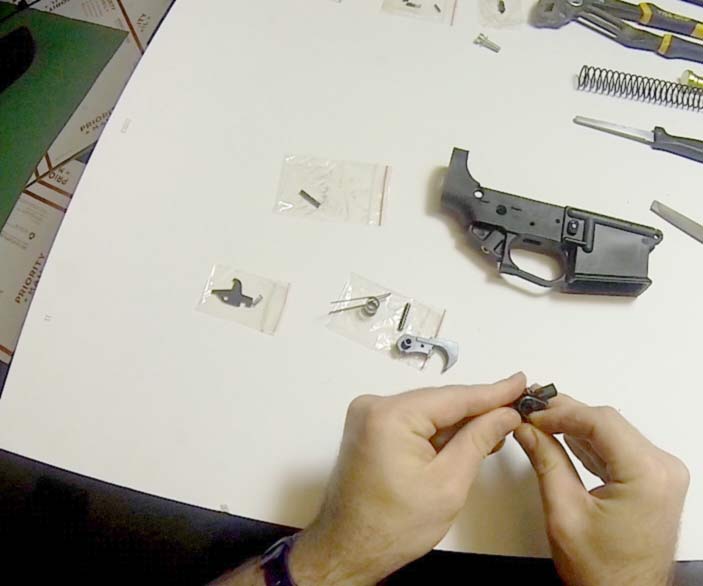
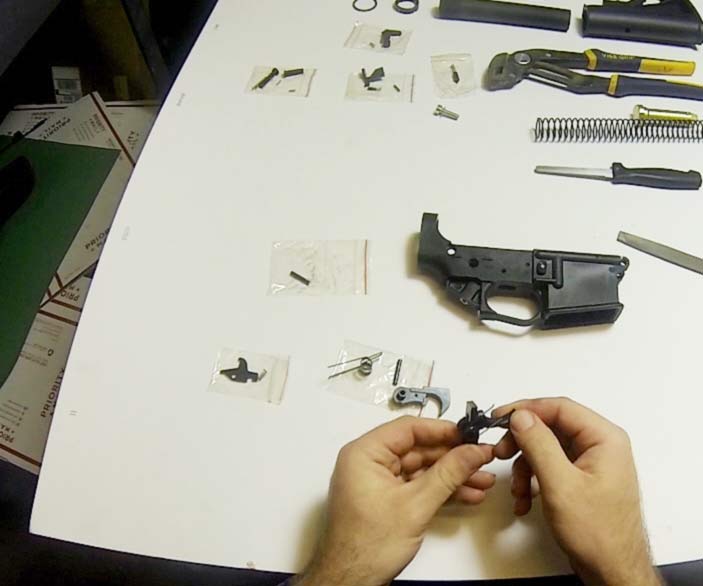
Select the disconnector. Note the notch in the disconnector. This cut-out is for the disconnector spring.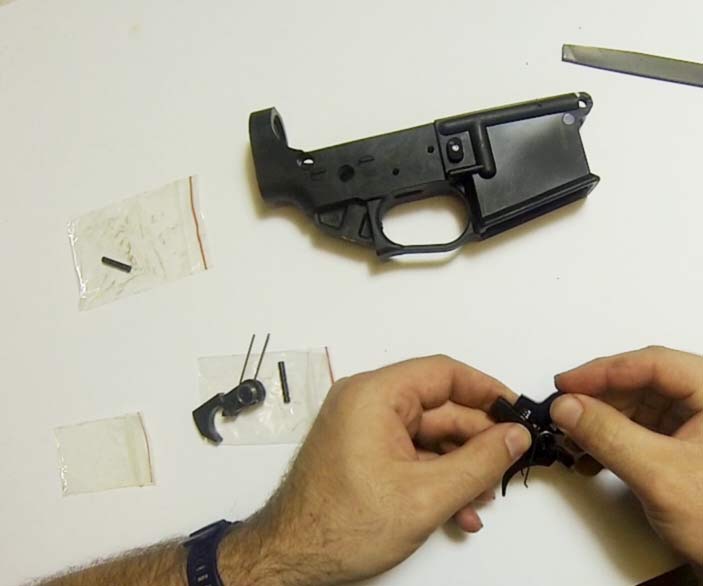 Insert the disconnector into the trigger as shown, with the notch on top of the spring and the pin holes aligned.
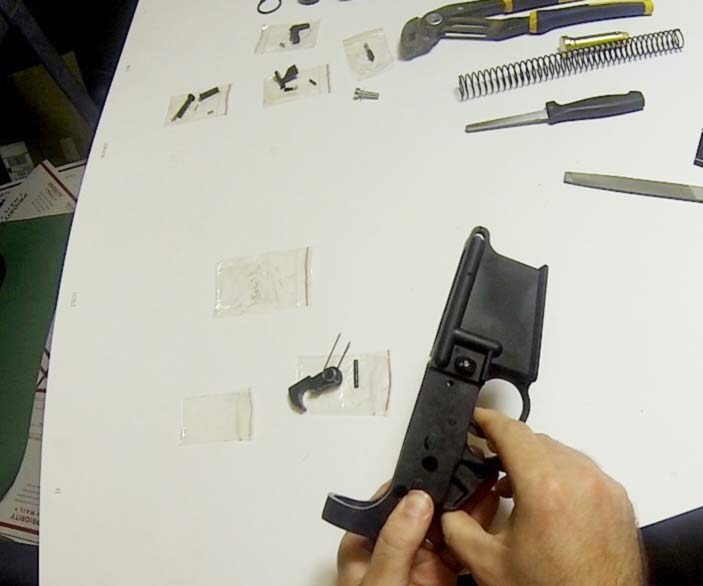
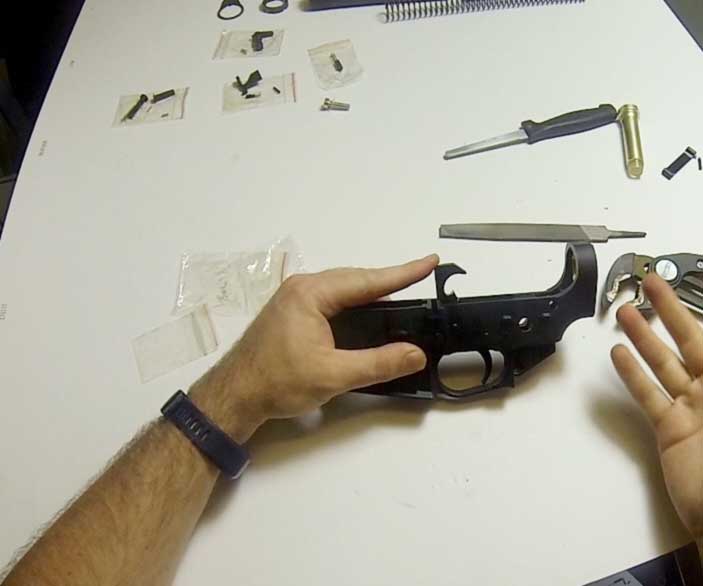
 Now, you will take the entire trigger assembly and insert it into the lower. the trigger spring should rest on the bottom of the lower. Align the pin holes in the trigger with the bottom set of pin holes in your lower.
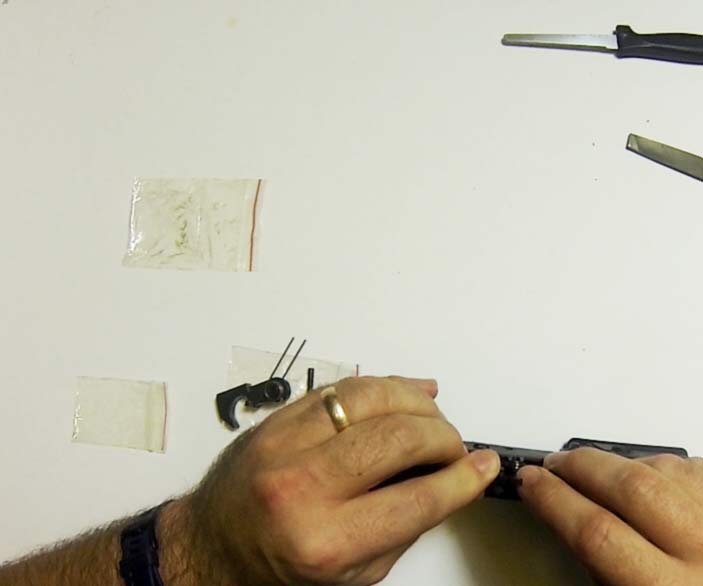
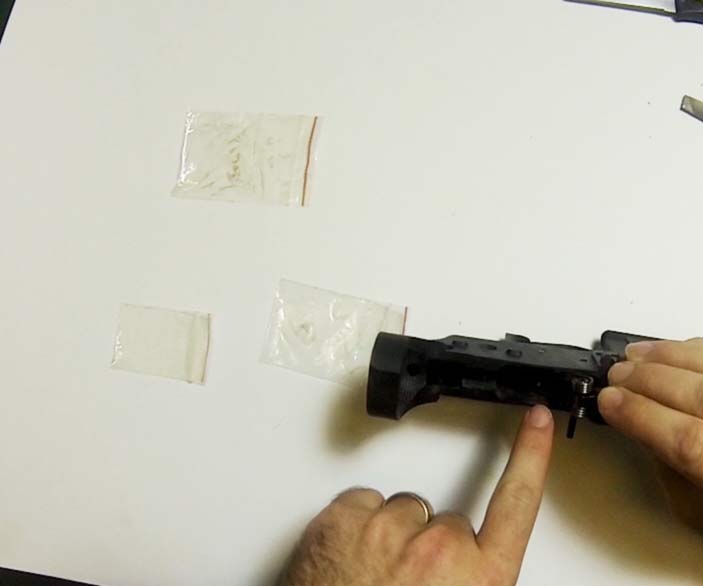
While holding in the trigger assembly, work in the trigger pin. once it is started, feel free to use a non-marring hammer or a pin punch to work it all the way through. You may not need any tools to do this.
Check your trigger. At this point, your trigger should naturally rest in the forward position. you should be able to pull the trigger and it should smoothly return to the forward position. If it does not, check your installation.
Grab your hammer assembly. Note, most better quality LPKs have a retention spring in the hammer. Set your orientation on your hammer spring.
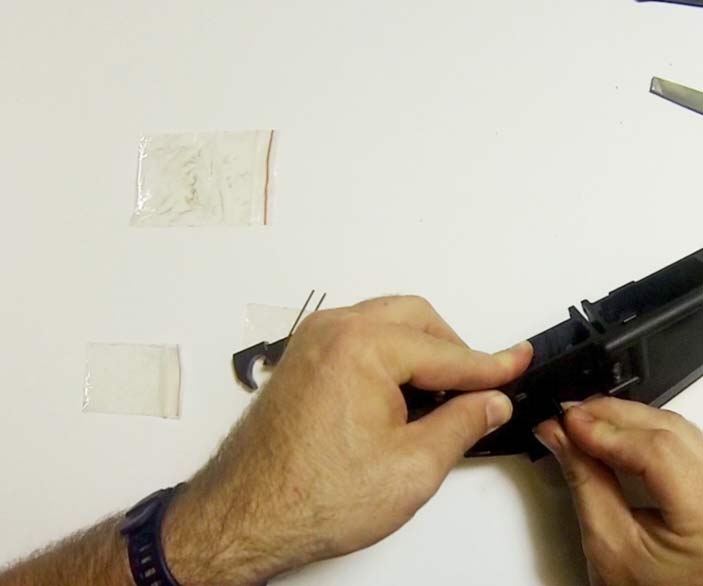
 I like to start the hammer pin into the receiver before I begin. make sure it is flush inside the receiver, so that you can get the hammer in. As you put your hammer into the receiver, make sure the legs of the spring are OVER the trigger pin. This will cause a fair amount of tension in the hammer spring.
 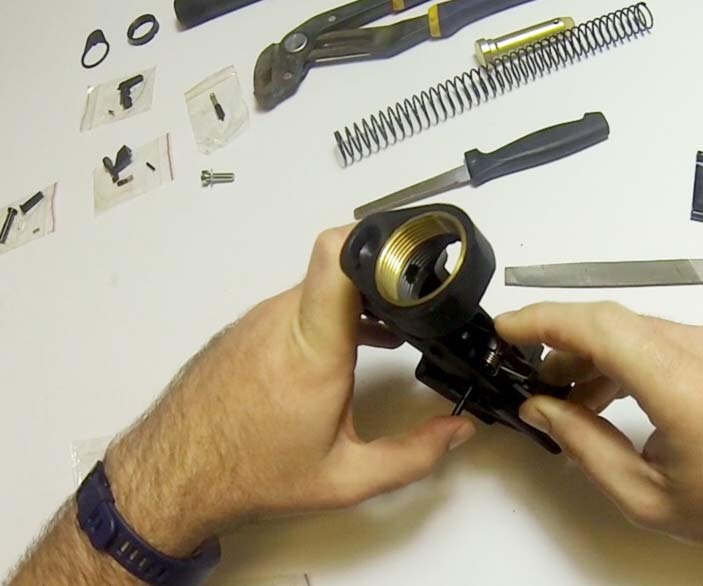 As you insert the hammer, apply pressure on the spring until you can start the hammer pin. Remember the retention spring on that hammer? It can make it quite difficult to insert the hammer pin. You may want to try wiggling it in. Or hammering it. If you start to get frustrated, you may want to come back to it after dinner…
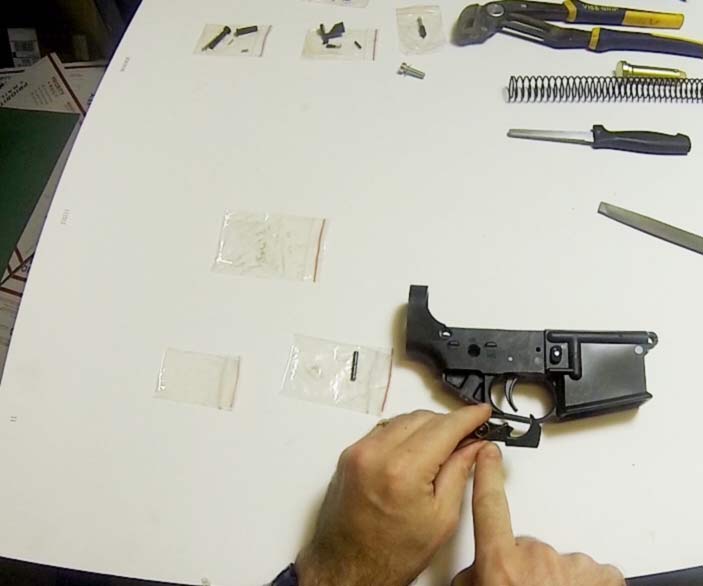
Once you have the hammer pin installed, you have completed the installation of the FCG. Now, test it for functionality.pull the hammer back and make sure it locks. Put your finger on the hammer and ride it forward slowly (read: don’t dry fire it) as you pull the trigger. Hold the trigger down and reset the hammer, the disconnector should catch it. When you release the trigger you should hear a click, but the hammer shouldn’t go all the way forward.
Congrats. You have successfully installed the Fire Control Group. The next part will be the installation of the bolt catch assembly.